Image Pre-processing
This section helps ensure that your input images are optimized for LogMeal’s recognition models, improving both accuracy and reliability while staying within API limits.
Before sending food images to the LogMeal API, it’s important to follow a few best practices to ensure the best recognition accuracy. Proper pre-processing reduces errors, speeds up processing, and improves the quality of the results.
Why Pre-processing Matters
The API relies on computer vision models trained on millions of images. Clear, well-structured input images lead to:
- More accurate dish recognition
- Better nutritional information extraction
- Faster response times
General Guidelines
- ✅ Lighting: Ensure good, natural lighting. Avoid shadows covering the food.
- ✅ Focus: Images should be sharp and not blurry.
- ✅ Framing: The food should take up most of the image area.
- ✅ Multiple Dishes: If multiple dishes are present, ensure each one is clearly visible.
- ✅ Convert to JPG: Always convert your images to
.jpgformat. JPG is the standard input format for the LogMeal API. It ensures:- Wide compatibility across platforms and tools.
- Consistent decoding on the server side.
- Optimized compression for photographic content (like food).
- ✅ Reduce File Size (under 1 MB): Images must be smaller than 1MB to:
- Ensure faster uploads and lower latency.
- Prevent timeouts in API requests.
- Reduce bandwidth consumption when sending many images.
- Stay within LogMeal API’s upload size limitations.
- ✅ Limit image dimensions (max 1000 px per side): Make sure the longest side (width or height) is ≤ 1000 pixels. Downscaling large photos reduces upload time and bandwidth, and typically preserves recognition quality.
- ❌ Avoid clutter: Background objects (cutlery, menus, etc.) may confuse the model.
Important (pixel size): The images you upload to LogMeal should not exceed 1000 px per side. If your originals are larger, resize them first and then apply the < 1MB file-size loop below.
Depth & Sequence Capture
Some advanced use cases (like Food Quantity Detection or Food Waste Detection) benefit from extra capture modes:
- 📏 Depth images – If your device supports depth sensors, provide paired RGB + depth images for better quantity estimation.
- 🎞️ Sequence capture – For leftovers/waste detection, send before & after meal images.
👉 For details on supported endpoints in your Plan, see Plan Subscription Details.
See details on how to implement this data capture method on the Food Quantity Detection use case.
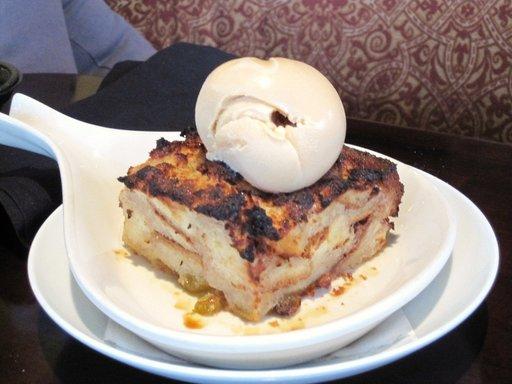
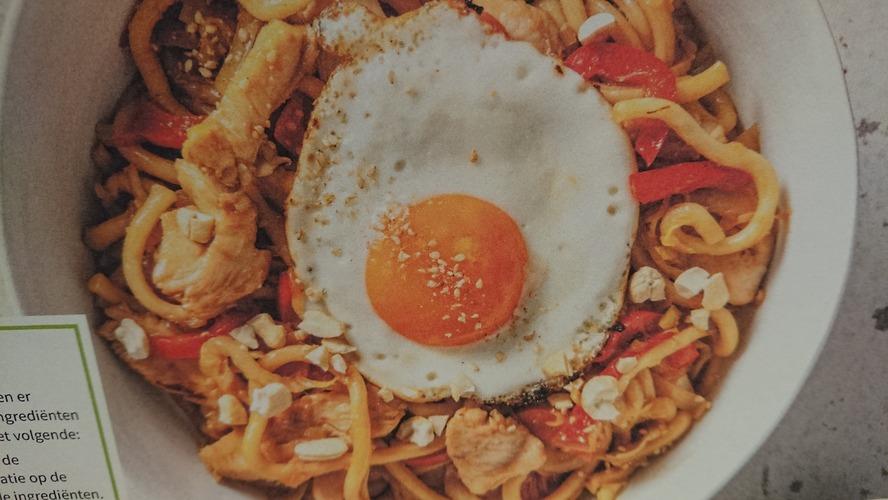
Sample Images
- Good capture:
- Bright, centered dish on a plate
- Minimal background noise

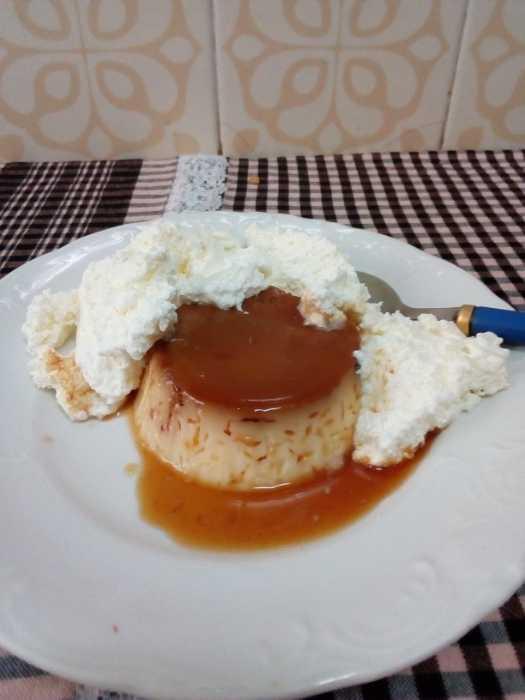
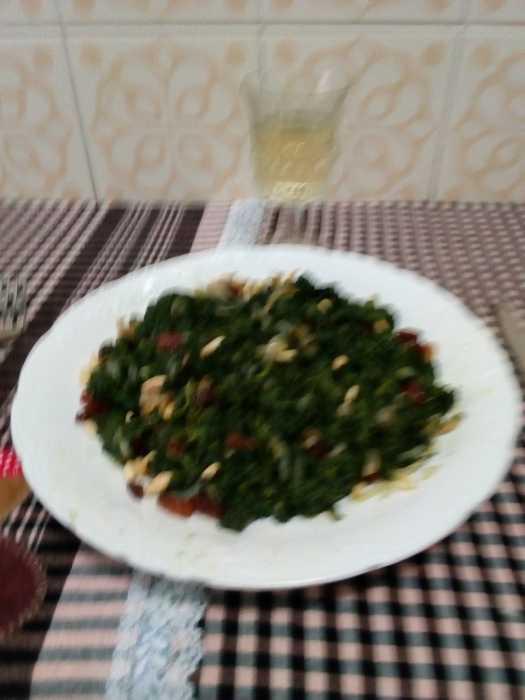
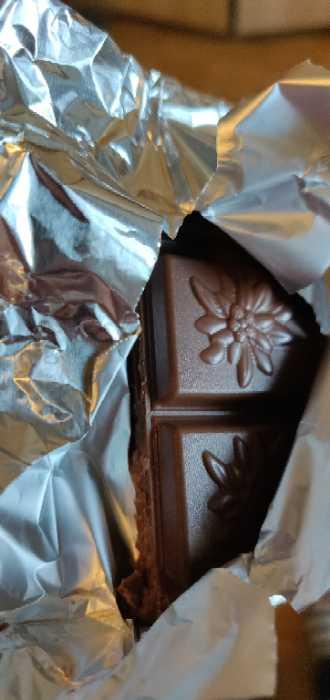
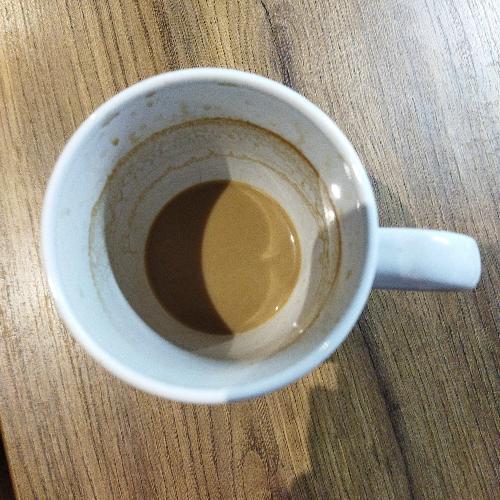
- Poor capture:
- Dark image with shadows
- Dish partly cropped
- Multiple overlapping plates
- Blurry image
Code Examples
The following snippets mirror the official examples in the OpenAPI/Swagger file to ensure consistent behavior, including EXIF orientation preservation and iterative downscaling below 1MB.
Convert to JPG while preserving EXIF orientation (Python)
import os
from PIL import Image
import piexif

# Path of the original image (e.g., PNG/HEIC/JPEG)
path_original_image = '<path-of-the-original-image>'
global_path = '<output-folder-path-ending-with-/> '

# Open and convert to RGB
im = Image.open(path_original_image)

# [IMPORTANT to keep image orientation]
exif_dict = piexif.load(im.info.get('exif', b''))
exif_bytes = piexif.dump(exif_dict)
rgb_im = im.convert('RGB')

# Derive output name and write JPG
image_name = os.path.basename(path_original_image)
image_name_noext = os.path.splitext(image_name)[0]
path_jpg = os.path.join(global_path, image_name_noext + '.jpg')

rgb_im.save(path_jpg, 'JPEG', exif=exif_bytes, quality=90)
print('Saved:', path_jpg)
Resize to ≤ 1000 px per side (Python)
Comment: Even if your image is already under 1MB, keeping the longest side at ≤ 1000 px helps standardize inputs and reduces upload time.
import os
from PIL import Image
import piexif

MAX_SIDE = 1000  # pixels (longest side)

path_in = "<path-to-image>"  # PNG/HEIC/JPEG/JPG
path_out = "<path-to-output-jpg>"

im = Image.open(path_in)

# Preserve EXIF (including orientation metadata)
exif_dict = piexif.load(im.info.get("exif", b""))
exif_bytes = piexif.dump(exif_dict)

rgb_im = im.convert("RGB")
w, h = rgb_im.size

# Scale down only if larger than MAX_SIDE
scale = min(1.0, MAX_SIDE / float(max(w, h)))
if scale < 1.0:
    new_w, new_h = int(w * scale), int(h * scale)
    rgb_im = rgb_im.resize((new_w, new_h), Image.LANCZOS)

rgb_im.save(path_out, "JPEG", exif=exif_bytes, quality=90, optimize=True)
print("Saved:", path_out, "| size:", Image.open(path_out).size)
Reduce image file size to < 1MB (Python)
import os
from PIL import Image
import piexif

path = '<path-to-jpg>'  # e.g., the output from the conversion step

im = Image.open(path)
exif_dict = piexif.load(im.info.get('exif', b''))
exif_bytes = piexif.dump(exif_dict)
rgb_im = im.convert('RGB')

# Helper to get size in MB
size_mb = lambda p: os.path.getsize(p) >> 20  # integer MB using bit shift

# Current dimensions
width, height = rgb_im.size

# Iteratively reduce size until < 1MB
while size_mb(path) >= 1:
    # Resize image to 75% of current size
    width, height = int(width * 0.75), int(height * 0.75)
    rez_image = rgb_im.resize((width, height), Image.ANTIALIAS)

    # Save keeping EXIF
    rez_image.save(path, 'JPEG', exif=exif_bytes, optimize=True, quality=85)

print('Final size (MB):', size_mb(path))
Why this approach?
- Preserves EXIF orientation so dishes aren’t rotated incorrectly.
- Uses a progressive, quality-preserving downscale loop to reliably stay under 1MB.
- Matches the server’s expectations, avoiding
413 Request Entity Too Largeand keeping inference latency low.
Quick ways to shrink images (recommended)
Comment: Use whichever option best fits your stack. The goal is always the same: ≤ 1000 px per side and < 1MB.
Node.js (Sharp)
import sharp from "sharp";

const MAX_SIDE = 1000;

await sharp("input.jpg")
  .rotate() // respects EXIF orientation
  .resize({ width: MAX_SIDE, height: MAX_SIDE, fit: "inside", withoutEnlargement: true })
  .jpeg({ quality: 85, mozjpeg: true })
  .toFile("output.jpg");
Browser (Canvas)
async function resizeImageFile(file, maxSide = 1000, quality = 0.85) {
  const img = document.createElement("img");
  img.src = URL.createObjectURL(file);
  await new Promise((r) => (img.onload = r));

  const scale = Math.min(1, maxSide / Math.max(img.width, img.height));
  const w = Math.round(img.width * scale);
  const h = Math.round(img.height * scale);

  const canvas = document.createElement("canvas");
  canvas.width = w;
  canvas.height = h;
  canvas.getContext("2d").drawImage(img, 0, 0, w, h);

  const blob = await new Promise((resolve) =>
    canvas.toBlob(resolve, "image/jpeg", quality)
  );

  return new File([blob], file.name.replace(/\.[^.]+$/, ".jpg"), { type: "image/jpeg" });
}
Command line (ImageMagick)
magick input.jpg -auto-orient -resize 1000x1000\> -quality 85 -strip output.jpgRecommended preprocessing pipeline
- Convert to JPG (keep EXIF orientation).
- Resize so the longest side is ≤ 1000 px.
- If needed, iteratively downscale/compress until the file is < 1MB.
Next Steps
- Learn about User Types & Access Tokens
- Review Plans & Limits
- Explore Food Recognition Capabilities
Updated 6 months ago